


sedruck Photo World
In our photo world you’ll find everything to make your pictures shine: photo books, high-quality photo prints, and more.
The online designer is integrated into almost all products on sedruck.de. For products such as the photo book, there are multiple designers: the designer for the inner pages and the designer for the book cover.
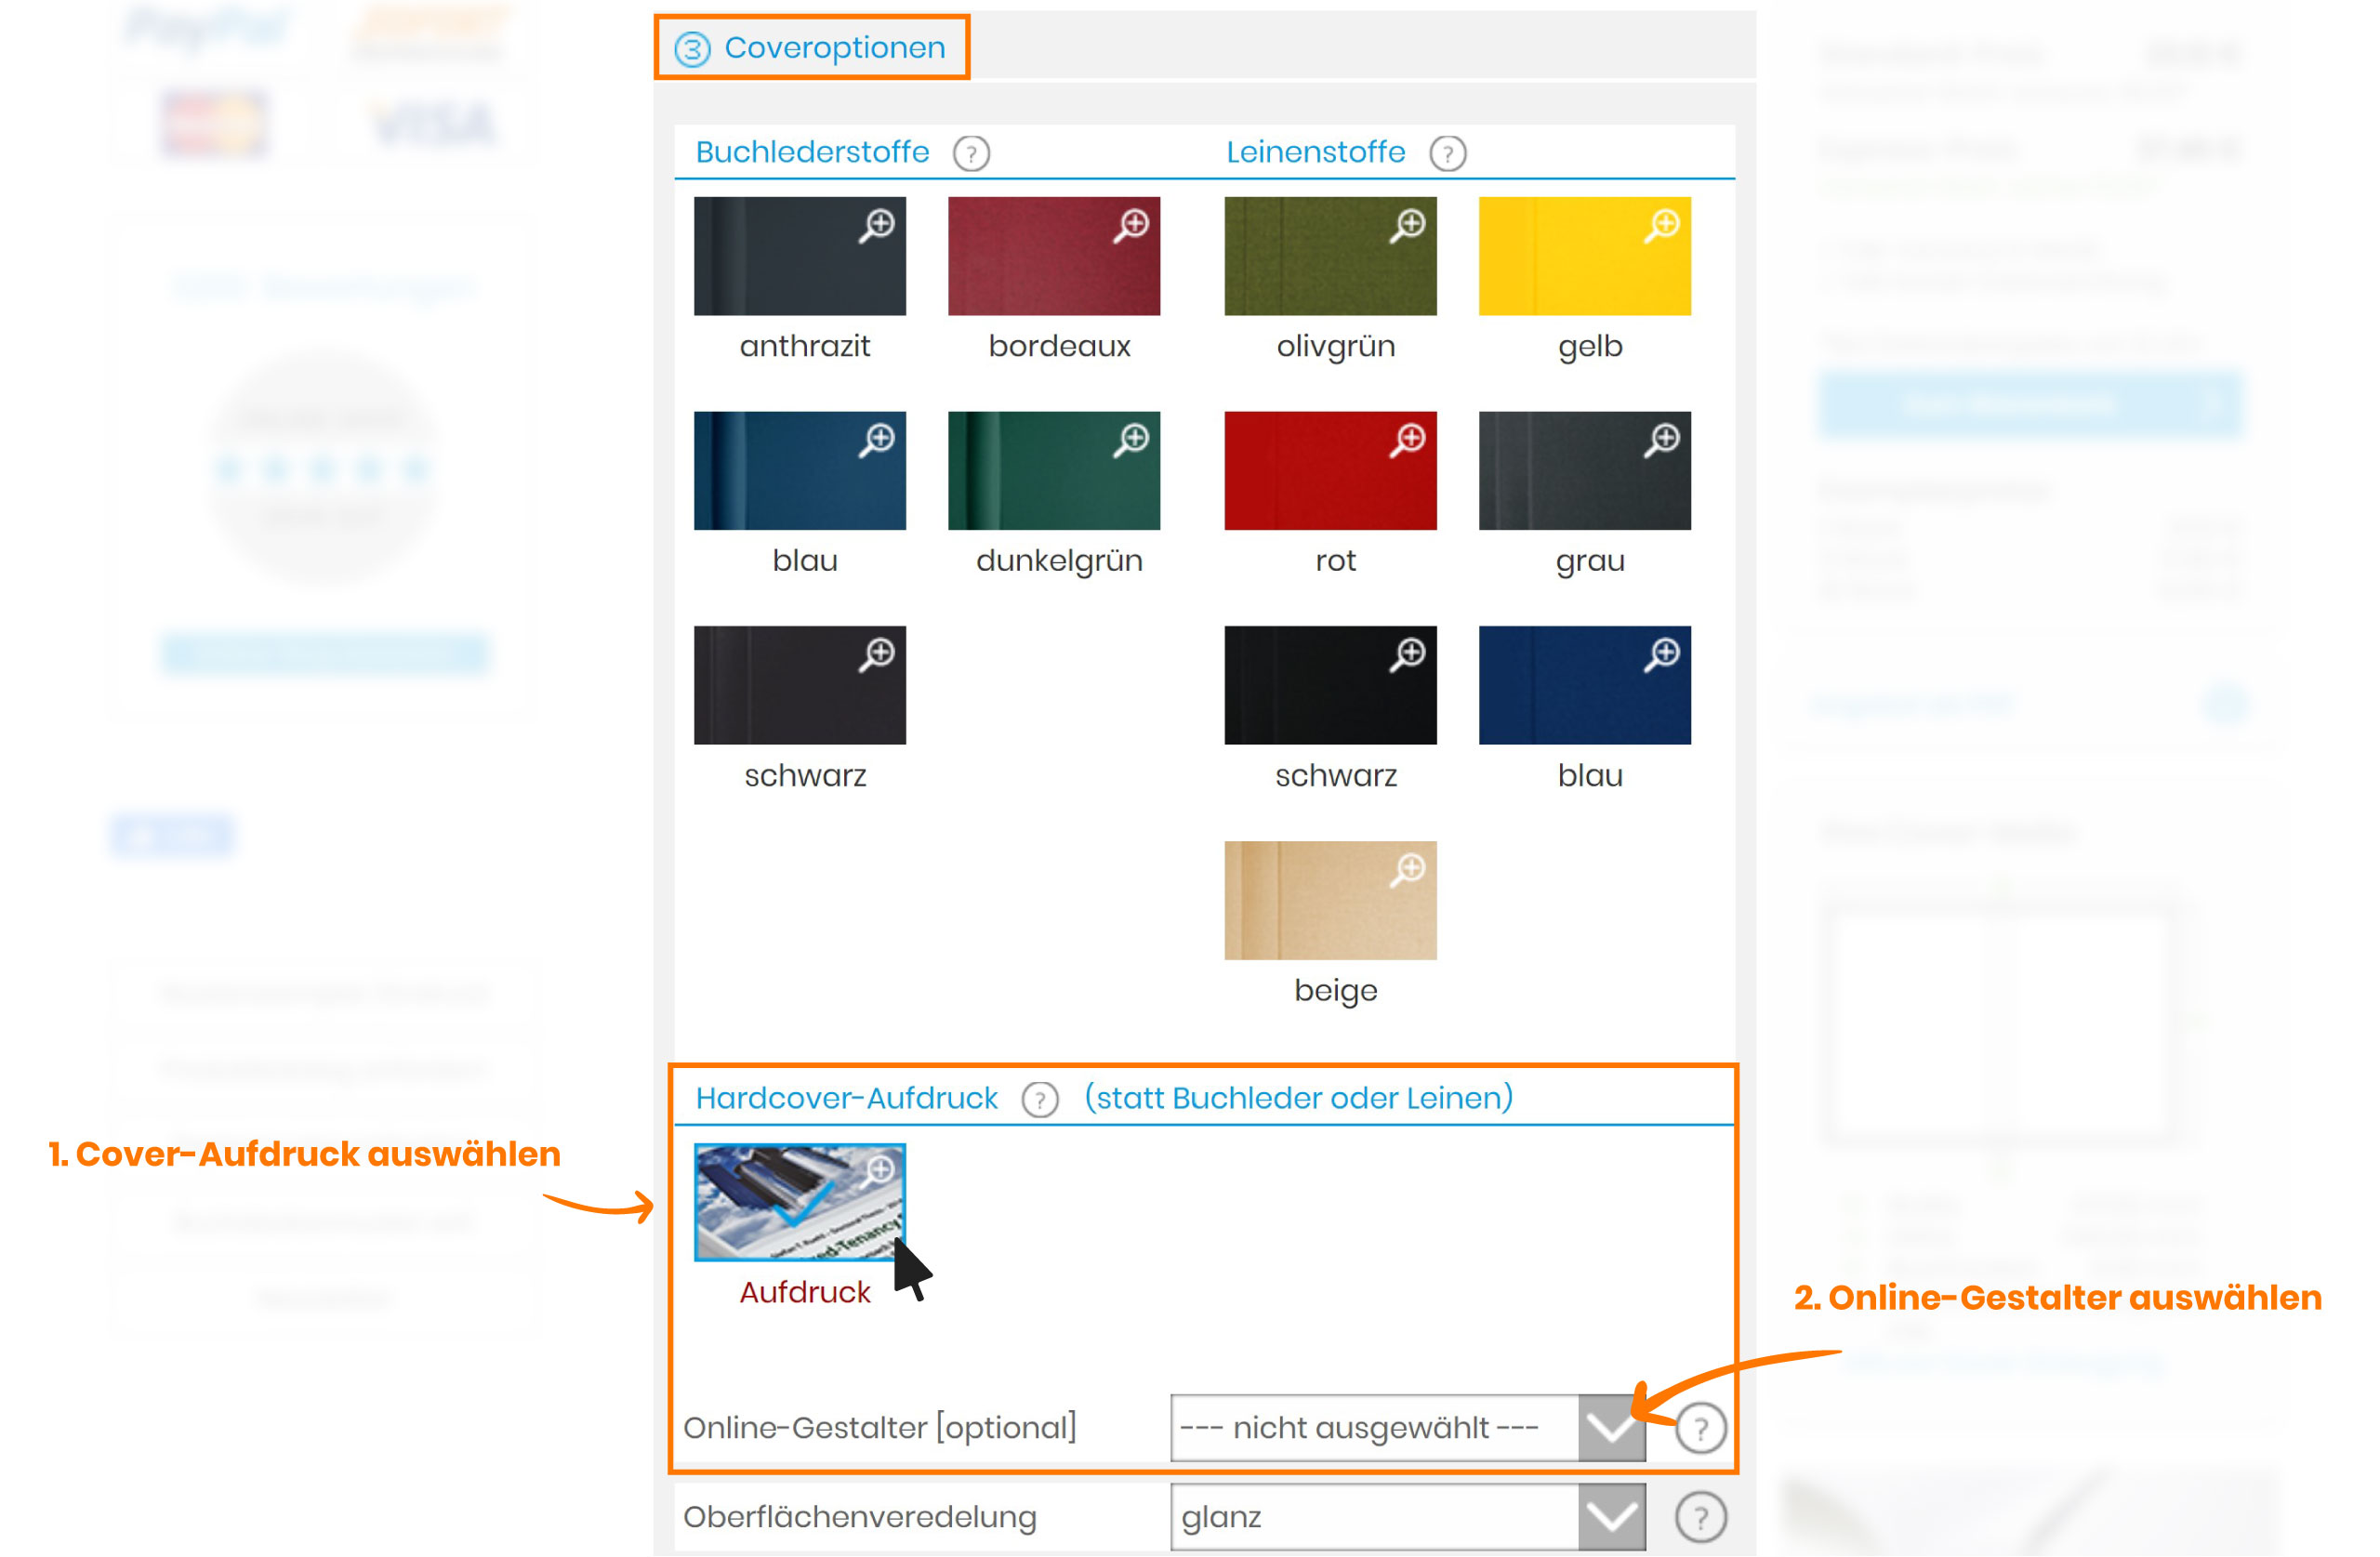
Where to find the online designer: The online designer for the book cover ("Book Cover") can be found under the item "Cover Options" - see Fig. 1.
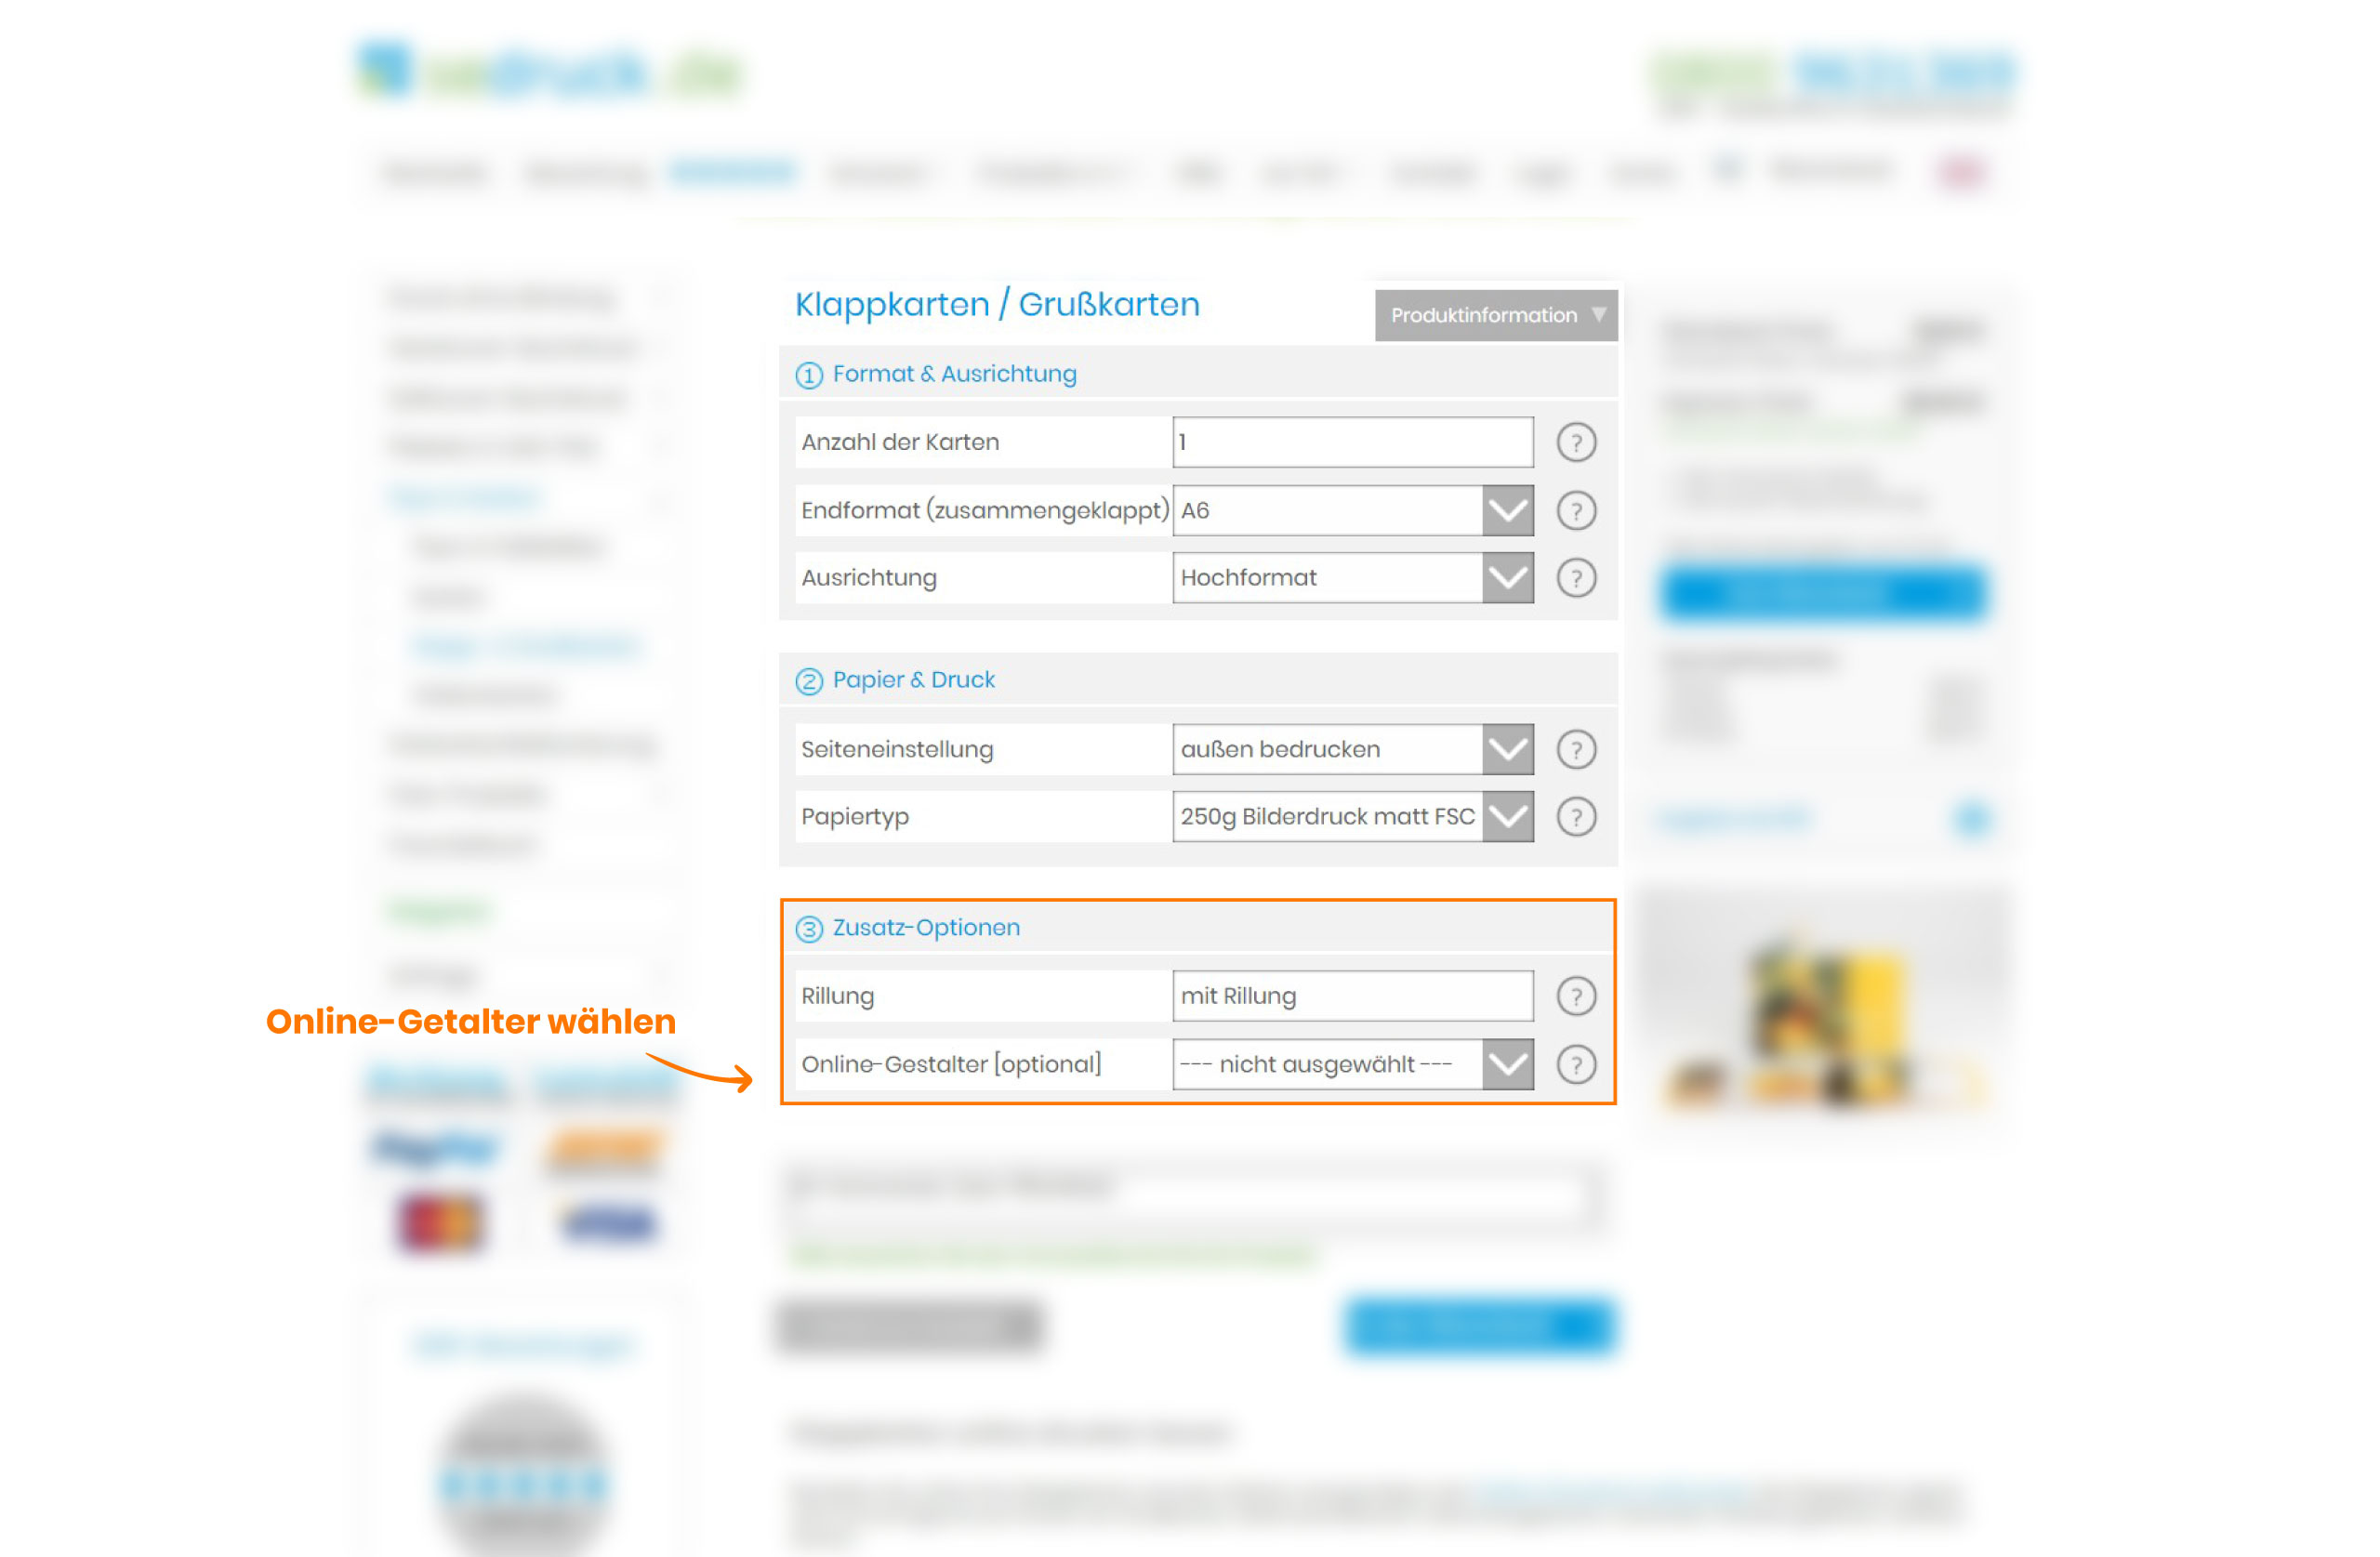
For products such as flyers, cards or posters, the online designer can be found under "Additional Options" - see Fig. 2.
The Handcrafted Book and the Photo Book also have an online designer for the inner pages.
The online designer sets the correct format sizes for the products based on the selected number of pages and the paper. A PDF file is automatically generated from the online designer, which you can check in the shopping cart. You should download the PDF with one click and check whether all fonts and images are displayed well. If you agree, you can simply continue with the order. The cover PDF documents will then be saved with your order for printing.
If you have further questions, send an email or give us a call. We are happy to support you in designing your product!
Click here if you want to learn more about creating a book cover.
Click the "Text icon" on the left bar of your screen.
![]()
You can now choose whether you want to add / edit a title, a description or a date for your page. After making a selection, a text field appears where you can insert your text. Finish this process by clicking "Save".
Click the text you want to remove.
Now select the ”Trash icon” in the options bar of your screen to remove the text.
![]()
Click the text you want to rotate.
Now select the "Rotation icon" in the options bar of your screen to rotate the text.
![]()
Click the text you want to edit.
Various editing options will appear in the top bar of your screen:

Click the text you want to change.
With the ”Pencil icon” you can change something in your text at any time.
![]()
A text field will appear in which you can change your text as you wish.

On the right side of your screen you will find the page overview of your product.
Here you can view your individual pages listed in a mini overview:
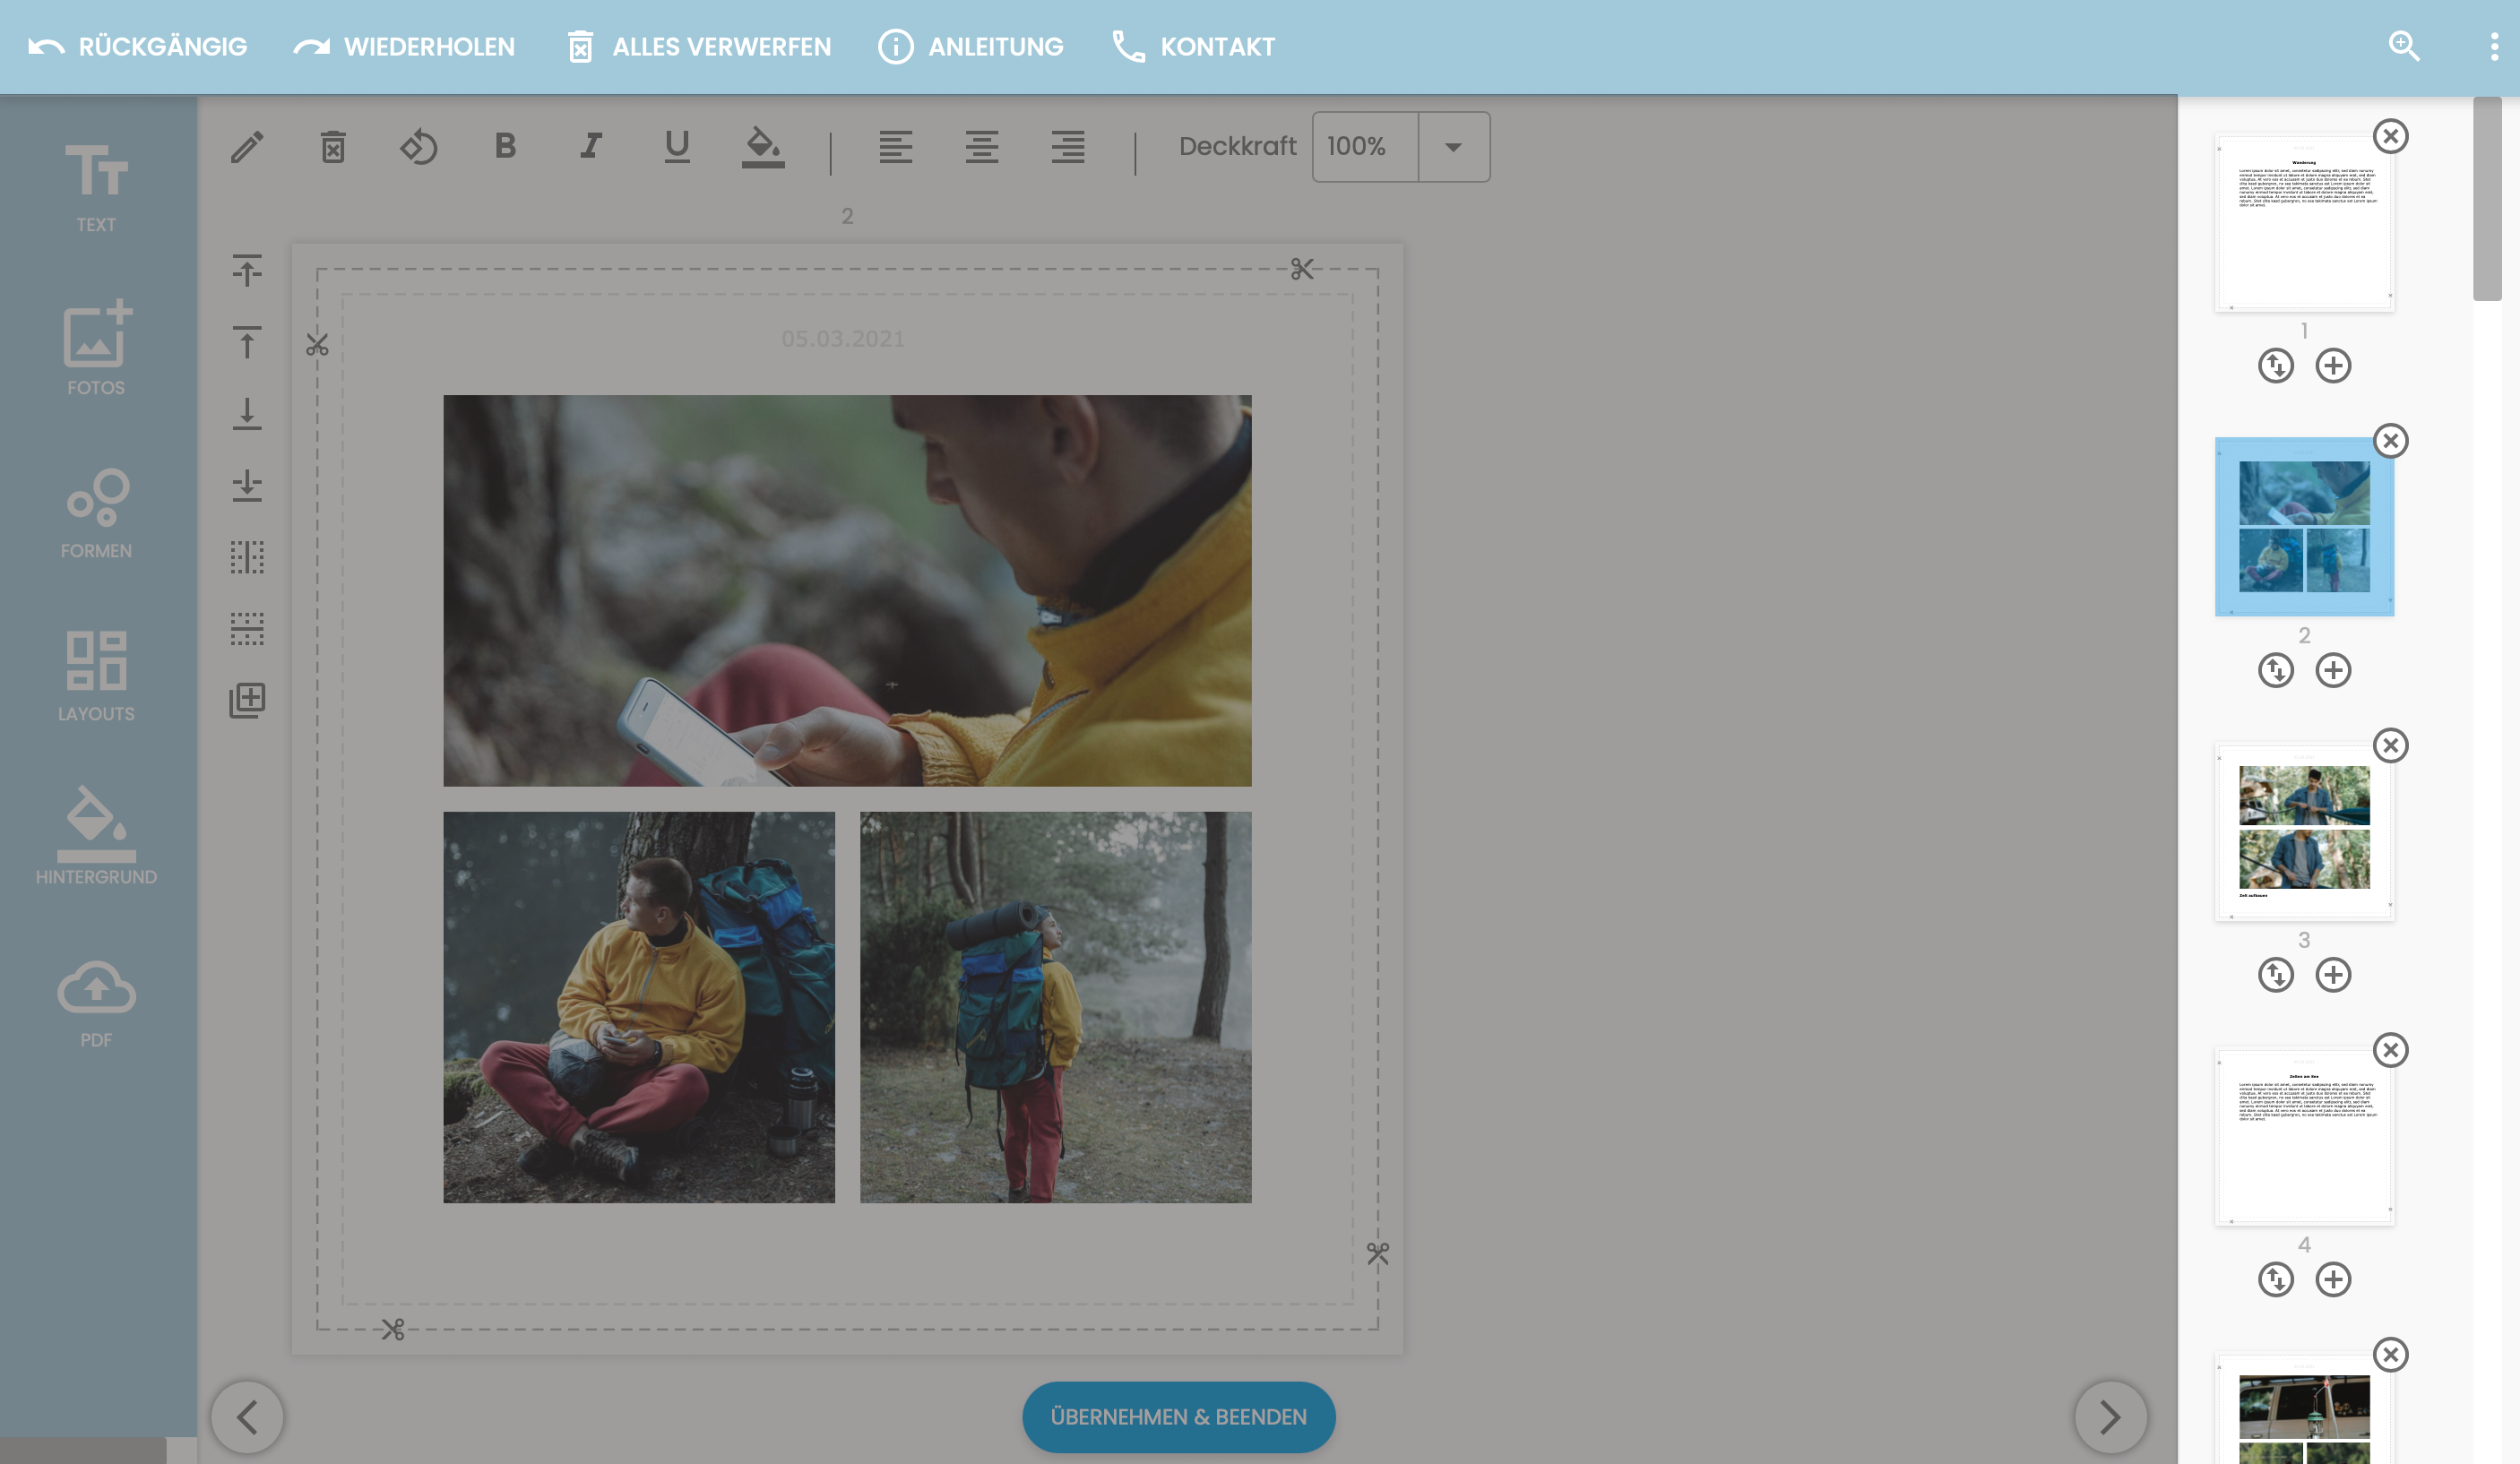
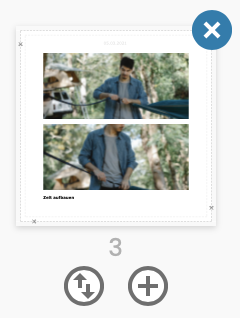
In your page overview on the right side of your screen, you will find all your pages listed.
![]()
Now click the ”Plus icon” after the page after which you want to add a new page.
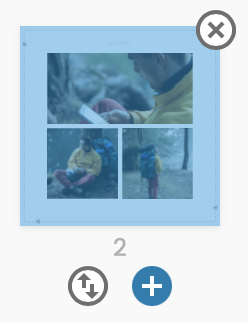
The page you are currently on is marked in blue and adopts any change you make to the page. The page numbers are located below the pages in the overview.
In your page overview on the right side of your screen, you will find all your pages listed.
![]()
There, click the ”Cross icon” at the top-right edge of the page you want to remove.
In your page overview on the right side of your screen, you will find all your pages listed.
![]()
Click the ”Order icon” of the page of your choice and it will move down by 1 page. Your other pages will consequently move up.
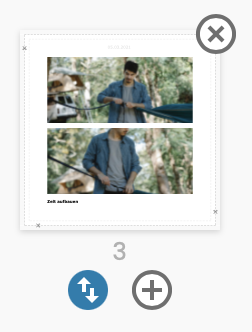
You can repeat this process as often as you like until your page is in the desired position.
Click the ”Background icon” on the left bar of your screen.
![]()
You will now be shown the options "Standard" and ”Palette” .
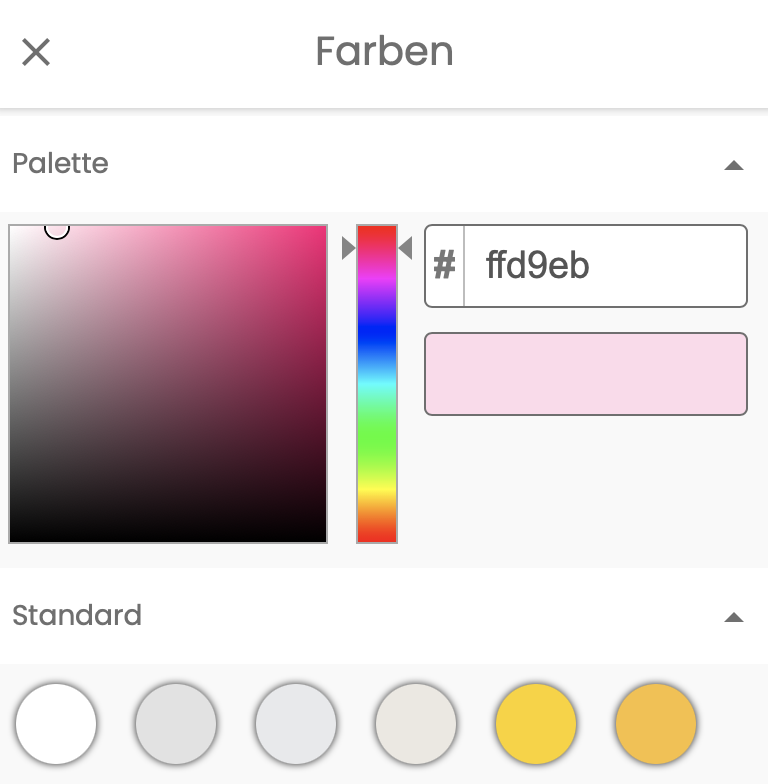
The ”Palette” drop-down lets you customize your colors individually.
Under ”Standard” you will find a variety of standard colors from which you can freely choose.
![]()
Then confirm your process with the blue checkmark.
To remove a background color in the online designer, click the ”Background icon” on the left bar of your screen.
![]()
You will now be shown the options "Standard" and "Palette" .
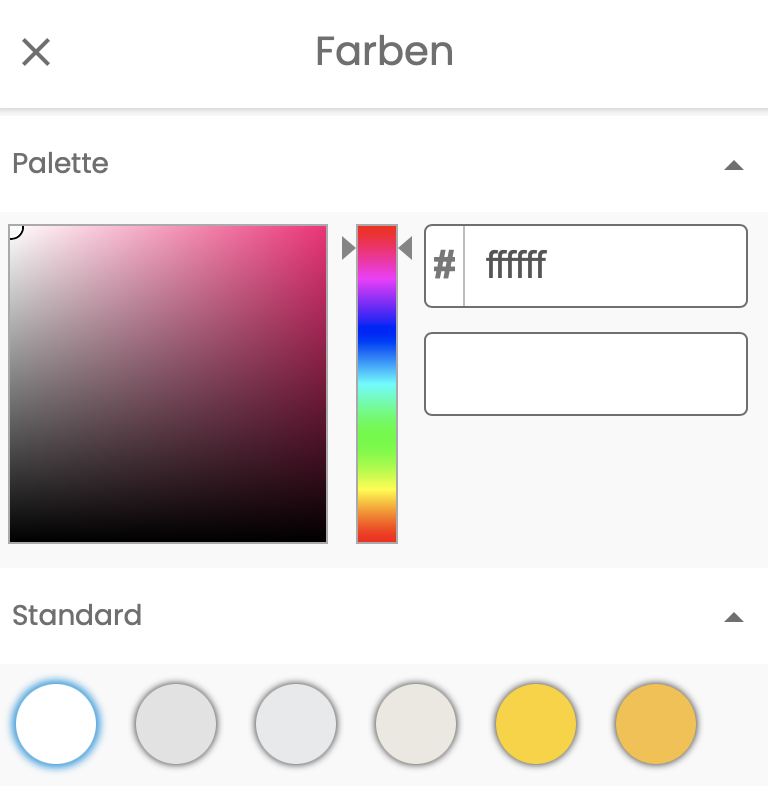
By selecting the standard color "white" or #ffffff on the palette, you remove your background color.
![]()
Then confirm your process with the blue checkmark.
To work with layouts on your pages, click the "Layouts icon" on the left bar of your screen and select one of the layouts available to you.
![]()
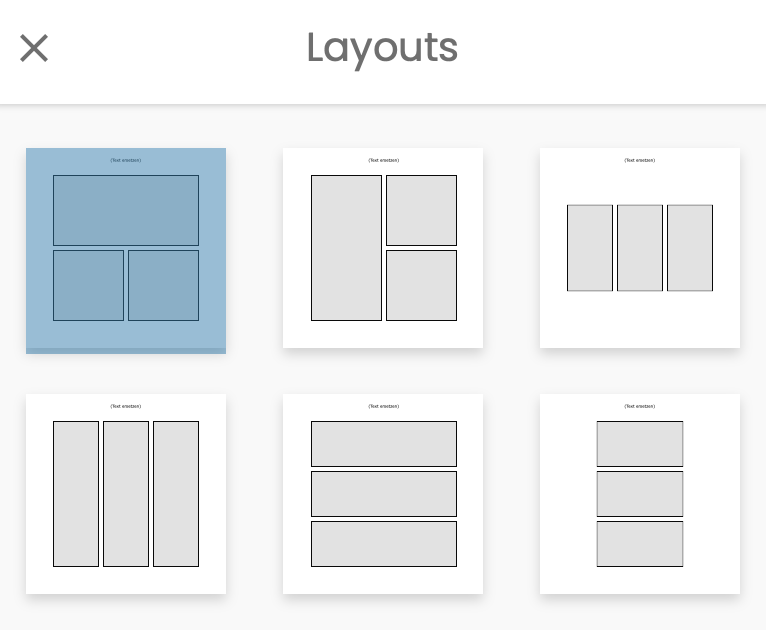
Your objects will be arranged accordingly on the page.
![]()
Then confirm your process with the blue checkmark.
To insert a PDF file into your layout, on the page where your PDF should appear, click the ”PDF icon”.
![]()
A window with your files will then open. Select the desired file there. You will now be asked which page of your PDF file you want to import into your layout:
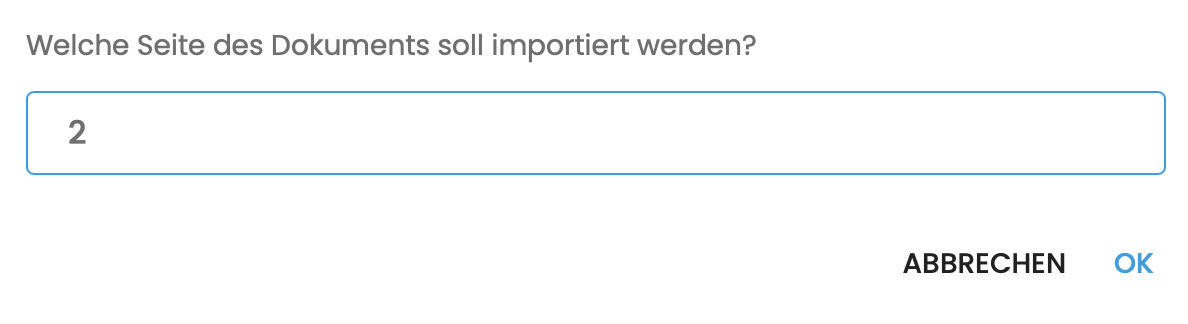
Enter the corresponding page number(s) in the window and then click ”OK”.
Your PDF page will then appear on your current page.